Looking for a fun inexpensive craft to do & protect your table surfaces?
Well why not make your own coasters?
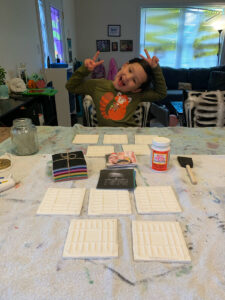
This was a fun craft Zoie & I did together that we actually enjoyed doing together.
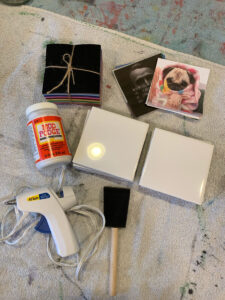
Items Needed
- 4.25 x 4.25 Ceramic Tile(s)
- 4×4 Felt Square(s)
- Glue Gun
- Modge Podge Glossy
- Paintbrush
- Ruler
- UV-Resistant Clear Gloss
- Drop cloth
- 4.25 x 4.25 Print(s)
Directions
- Start by obtaining your 4.25 x 4.25 Prints
- We picked photos from Pinterest, then resized them in Photoshop, printed them out & cut them out with our paper trimmer.
- Plugin your glue gun, this way the glue gun will be hot when needed
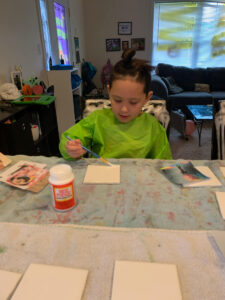
- Place your drop cloth on the surface you’ll be working
- Set out your materials on top of the drop cloth
- See photos 1 & 2
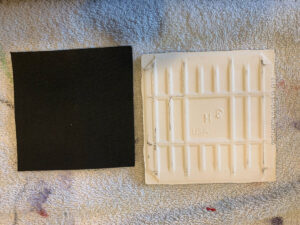
- Grab the tile & felt you’ll be working with
- Flip the tile upside down
- See photo 3
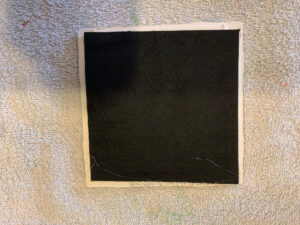
- In the center of the tile place a generous amount of hot glue, place the felt over the top. Align the felt corner to corner
- See photo 4
- Now lift the edges of the felt & on the tile add hot glue, pressing the felt as you go down.
- This will seal the felt to the tile, so the tile will not scratch the surface the coaster is laid on.
- See photo 4
- Once you’ve done all four sides flip the tile/felt over
- Now you will grab your paintbrush and apply a light coating of modge podge over the entire surface
- See photo 5
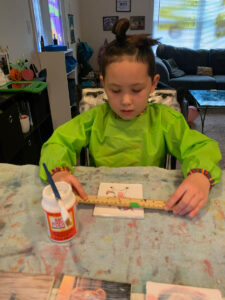
- Once the entire surface is covered in a light coating of modge podge grab your print and align the corners and slowly press the photo down to the tile
- Using the ruler press down to make sure the bubbles are out and even
- See photo 6
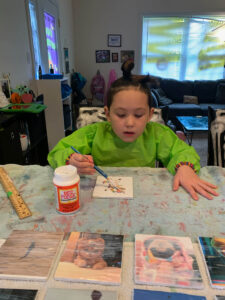
- Add a light coating of modge podge over the top of the print
- See photo 7
- Wait 30 minutes and apply a second light coating of modge podge
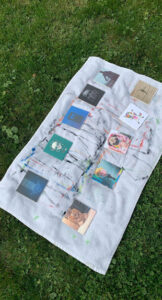
- After 30 minutes or when dry, take your coasters outside on the dropcloth & spray with the UV-Resistant Clear Gloss
- Please note do not do this inside
- Also, read the instructions on how far away you need to spray, the one linked is 12 inches away
- See photo 8
- Let sit for 2 hours and repeat
- After 2 hours bring inside and let seal for 24 hours before using
Tag me on Instagram with your cool coasters!
